
Ordering on MakePlayingCards
Follow these steps to upload your card images and place your order, whether you are printing official or custom cards.
1. Set your deck size
MPC sells cards in decks: you select a maximum size tier, then fill it with your card images. Choose the smallest tier that fits your order. For example, if you're printing all 99 cards in the Requiem Warp Zone expansion, select Up to 108.
The price table shows cost per deck at different quantities. If you're ordering a single copy for yourself, use the 1–5 row.

MPC Settings
Selecting these options will result in the closest match between what you will receive and official Four Souls v2 cards.
Regular Cards
| Card Size: | Custom Game Cards (63 x 88mm) |
| Card Stock: | (M31) Linen |
| Print type: | Full color print |
| Finish: | BETA playing card finish |
Challenge Cards
| Card Size: | Custom Jumbo Cards (3.5" x 5") |
| Card Stock: | (S33) Superior Smooth |
| Print type: | Full color print |
| Finish: | MPC game card finish |
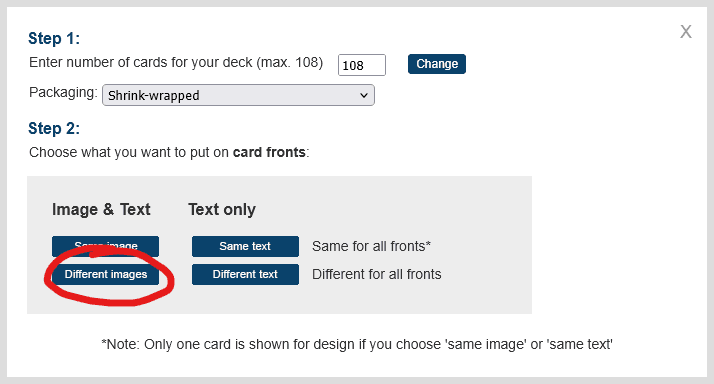
2. Choose "Different images"
A dialog will pop up. Leave the card count at the maximum. The price is fixed to the deck tier you already chose, so lowering it won't save you money and you'd just be wasting slots. We'll cover how to fill any remaining slots later.
Under card fronts, select Different images. This lets you upload a separate image for each card in the deck.
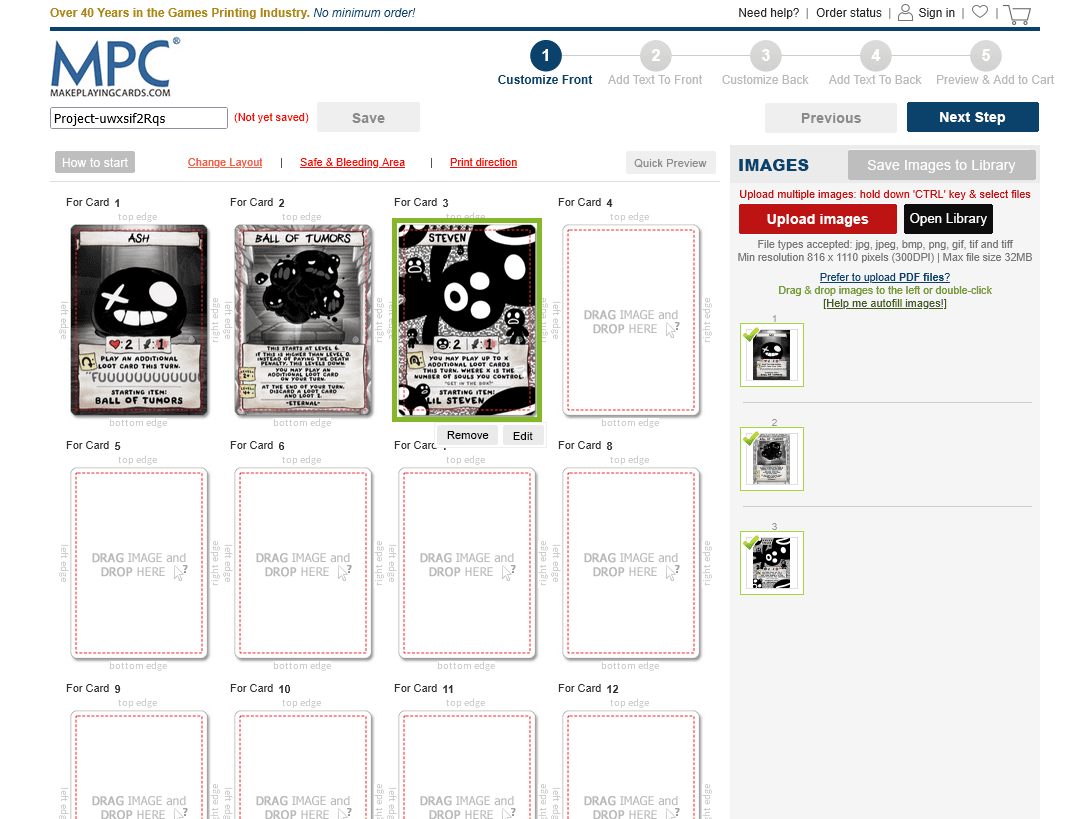
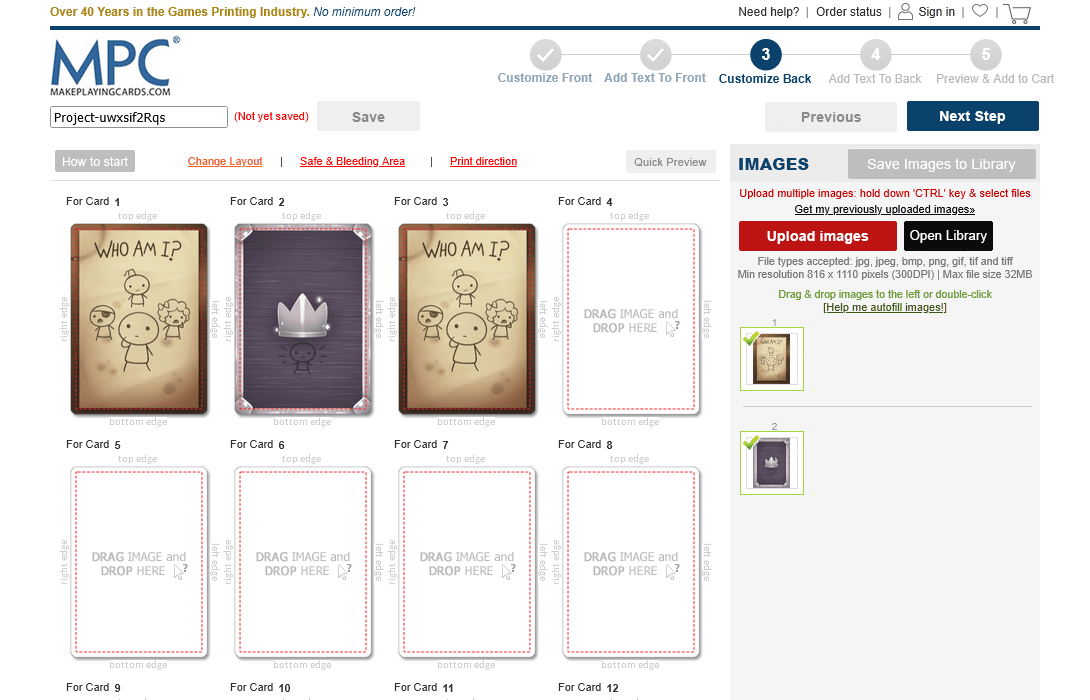
3. Upload your card fronts
You'll land on the card editor. Drag and drop your card front images onto the slots, or use the Upload Images button on the right panel.
Pay close attention to the order. MPC assigns a slot number to each card front, and you will need to upload the matching card backs in the exact same order in the next step. If you upload fronts in a random order, it becomes very difficult to match them correctly later.
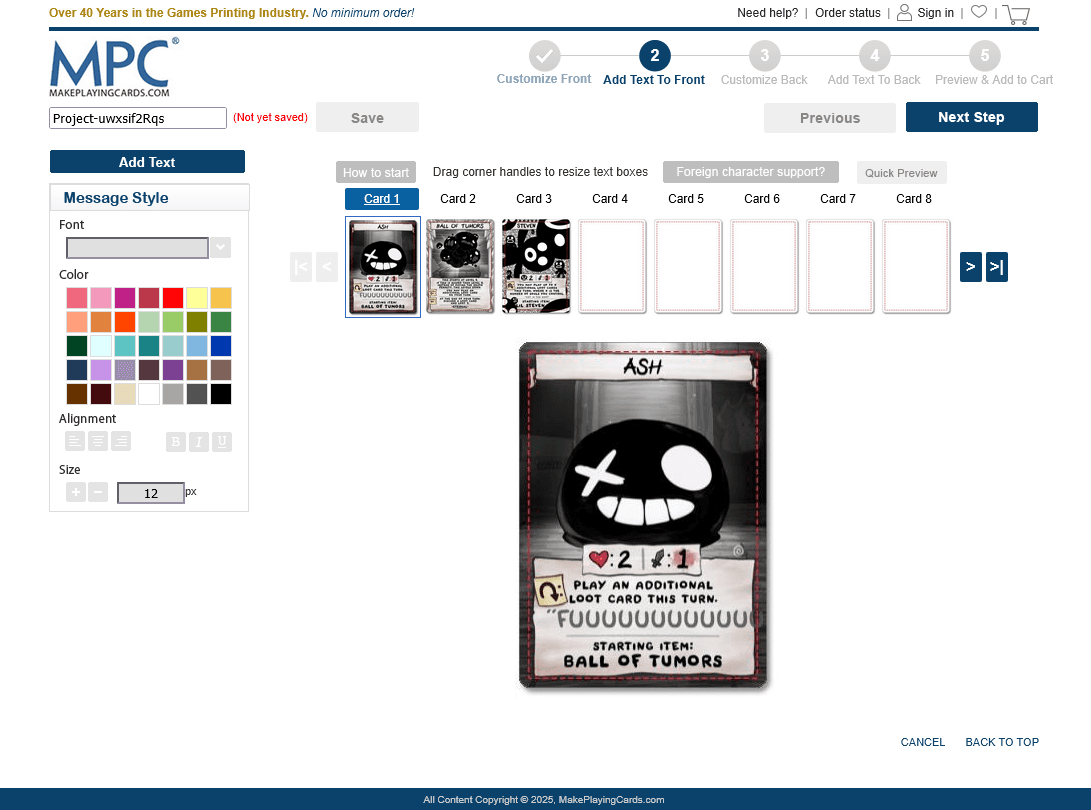
4. Check the card preview
The card grid is already showing you the final result. MPC trims the bleed zone automatically, so what you see in the grid is exactly what you will receive. The dashed red line marks the safe area. It will not appear on the printed card.
Make sure the preview looks like the example on the left. If it resembles the example on the right (content cropped, border missing, card shifted), your image is missing the bleed zone and the printed card will be flawed. Go back and use the correct file.


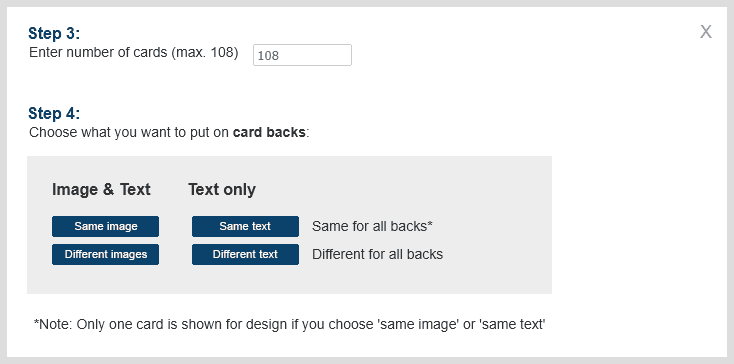
6. Choose "Different images" for card backs
The same dialog appears again, this time for card backs. Select Different images so you can upload a matching back for each card.
7. Upload your card backs
You're now in the card back editor. Upload the backs in the exact same order you used for the fronts: slot 1 back must match slot 1 front, slot 2 back must match slot 2 front, and so on.

9. Review front and back pairs
MPC now shows you a preview grid of every card paired with its back. Go through each pair and make sure every front has the correct back assigned. If something looks off, use the above buttons to go back and fix the order.

Happy with everything? Accept the terms and click Add to Cart when you're ready to order.
10. Checkout and wait for your cards!
Your cart shows a summary of your order. Complete the checkout and MPC will take it from here. Delivery usually takes a couple of weeks depending on your location.
